
Making your own cannabutter is rewarding, fun, and wonderfully stinky. Fairly simple to do, the first ingredient you’ll need is plenty of ground cannabis flower, you can purchase this at any local dispensary in your legal state. While you can use perfectly formed buds to create mind-melting edibles, high-quality shake (made up of loose cannabis flower crumbles) is often a bit cheaper and can save you the hassle of having to grind up a pile of flower. Viewed by some as a less-attractive product than the well-formed buds, high-quality shake can get you every bit as high as top-shelf bud. Many dispensaries carry shake, so be sure to ask your budtender about this versatile product the next time you’re ready to do some canna-cooking.
Wondering how much shake to use? We recommend anywhere from 7g to 1 ounce per cannabis edible batch. Unfortunately, calculating the exact amount of THC in each baked good and in each bite requires a few formulas for accurate dosing. For information about how much cannabis flower to use for your delectable edibles, visit this article. If you are uncomfortable by math or would like a slightly faster butter receipt option, we recommend using RSO in place of flower. Instructions for dosing can be found on the packaging at your local dispensary.
So, you’ve got your shake. Now what? The first step to cooking with cannabis is decarboxylation. A fancy term for the process that converts the non-psychoactive cannabinoid THCA into the psychoactive cannabinoid THC, this step is the main focus of cooking with cannabis. (The same process is used to convert CBDA to CBD.) This step is necessary to transform these cannabinoids into forms that have stronger physiological effects within the human body. If you skip this step, you will likely create edibles with very low levels of the active cannabinoids THC or CBD. Decarboxylation can be accomplished successfully in the cooking process but is a bit tricky to time right, and so is usually done beforehand.
Decarboxylation is typically done before cooking or infusion to keep cooking time short, which helps keep the desired compounds from degrading or dissipating during cooking, leaving you with a baked brownie (see below for our best-baked recipes!) This can be easily accomplished by setting the oven to a low temperature to decarboxylate your cannabis. Simply spread your shake or ground flower evenly on a baking sheet and pop it in the oven. THCA begins to convert to THC at around 220 degrees F and CBDA to CBD at around 245 degrees F. An oven set between 200 and 300 degrees F should do the trick. (At temperatures below 300 degrees F, most of the terpenes within the flower will also be retained.) If your oven won’t go that low, just prop the door open. This process can take between 30 minutes and 90 minutes depending on the precise temperatures. Typically low-and-slow is the way to go.
But how do you tell when decarboxylation is finished? Your cannabis should have darkened noticeably in color and smell a bit nutty. In other words, it’s not gonna be green and it’s probably gonna be really brown. The first couple of times you do this, you may have trouble telling when it’s finished. This is normal; you’ll become familiar with the look and smell of properly decarboxylated cannabis after doing it a few times. If you expose cannabis to heat for too long, the psychoactive compounds start to degrade. So, be sure to monitor your flower during this process. If you start to worry that it’s been in too long you can always pull it out. If you pulled it out too soon, the cooking process itself can help continue the decarboxylation process.
Okay! You’ve got your decarboxylated cannabis. Next step, butter. Heat a large saucepan on the stovetop and melt the butter. (You can also use a crockpot.) Reduce heat to 200 degrees F or below, a low slow simmer. Add in your decarboxylated cannabis, stir, and allow your flower and butter to mellow for 1 – 3 hours. Do not boil or you will lose precious compounds! The timing on this varies, but the end goal is to extract as many of the beneficial compounds from your flower as possible, without losing too many from overheating. After your butter has visibly darkened and taken on that nutty-sweet taste and aroma, you can remove it from heat, strain, or leave the flower in if you’d prefer, and consume or store away for future use.
Making cannabutter is pretty simple, and the main thing is to have fun. It’s a half-day project at least, so make sure you have plenty of time to finish once you’ve started. It is also quite stinky. You’re probably thinking, “Yeah, but it won’t really smell that much.” Well, it does. Hopefully, this is not a problem for you, but be mindful of this fact if you live in an area with easy-to-offend neighbors.
People have been cooking with cannabis for thousands of years and by learning how to make quality edibles we can share in an ancient tradition. Below you will find a few recipes showing you how to use your newly crafted cannabutter. So, what are you waiting for? Bake that shake; make your ancestors proud!
Brownies
- 1/2 cup melted cannabutter
- 1/3 cup unsweetened cocoa powder
- 1 cup white sugar
- 1/2 cup all-purpose flour
- 1/4 teaspoon salt
- 1/4 teaspoon baking powder
- 1 teaspoon vanilla extract
- 2 eggs
Preheat oven to 350 degrees F. Mix cocoa powder, flour, salt, and baking powder, then set aside. Warm cannabutter until melted (apply as little heat as possible to preserve cannabis compounds.) Mix melted cannabutter, sugar, and vanilla extract, then set aside. Add the mix of cannabutter, sugar, and vanilla extract to the dry ingredients. Add eggs and mix well. Pour batter into a greased 8” x 8” baking pan and pop into the oven for 25 – 30 minutes. Remove from oven, let them cool, and have at ‘em!
*(Makes between 1 and 20 brownies, depending on how you cut them.)
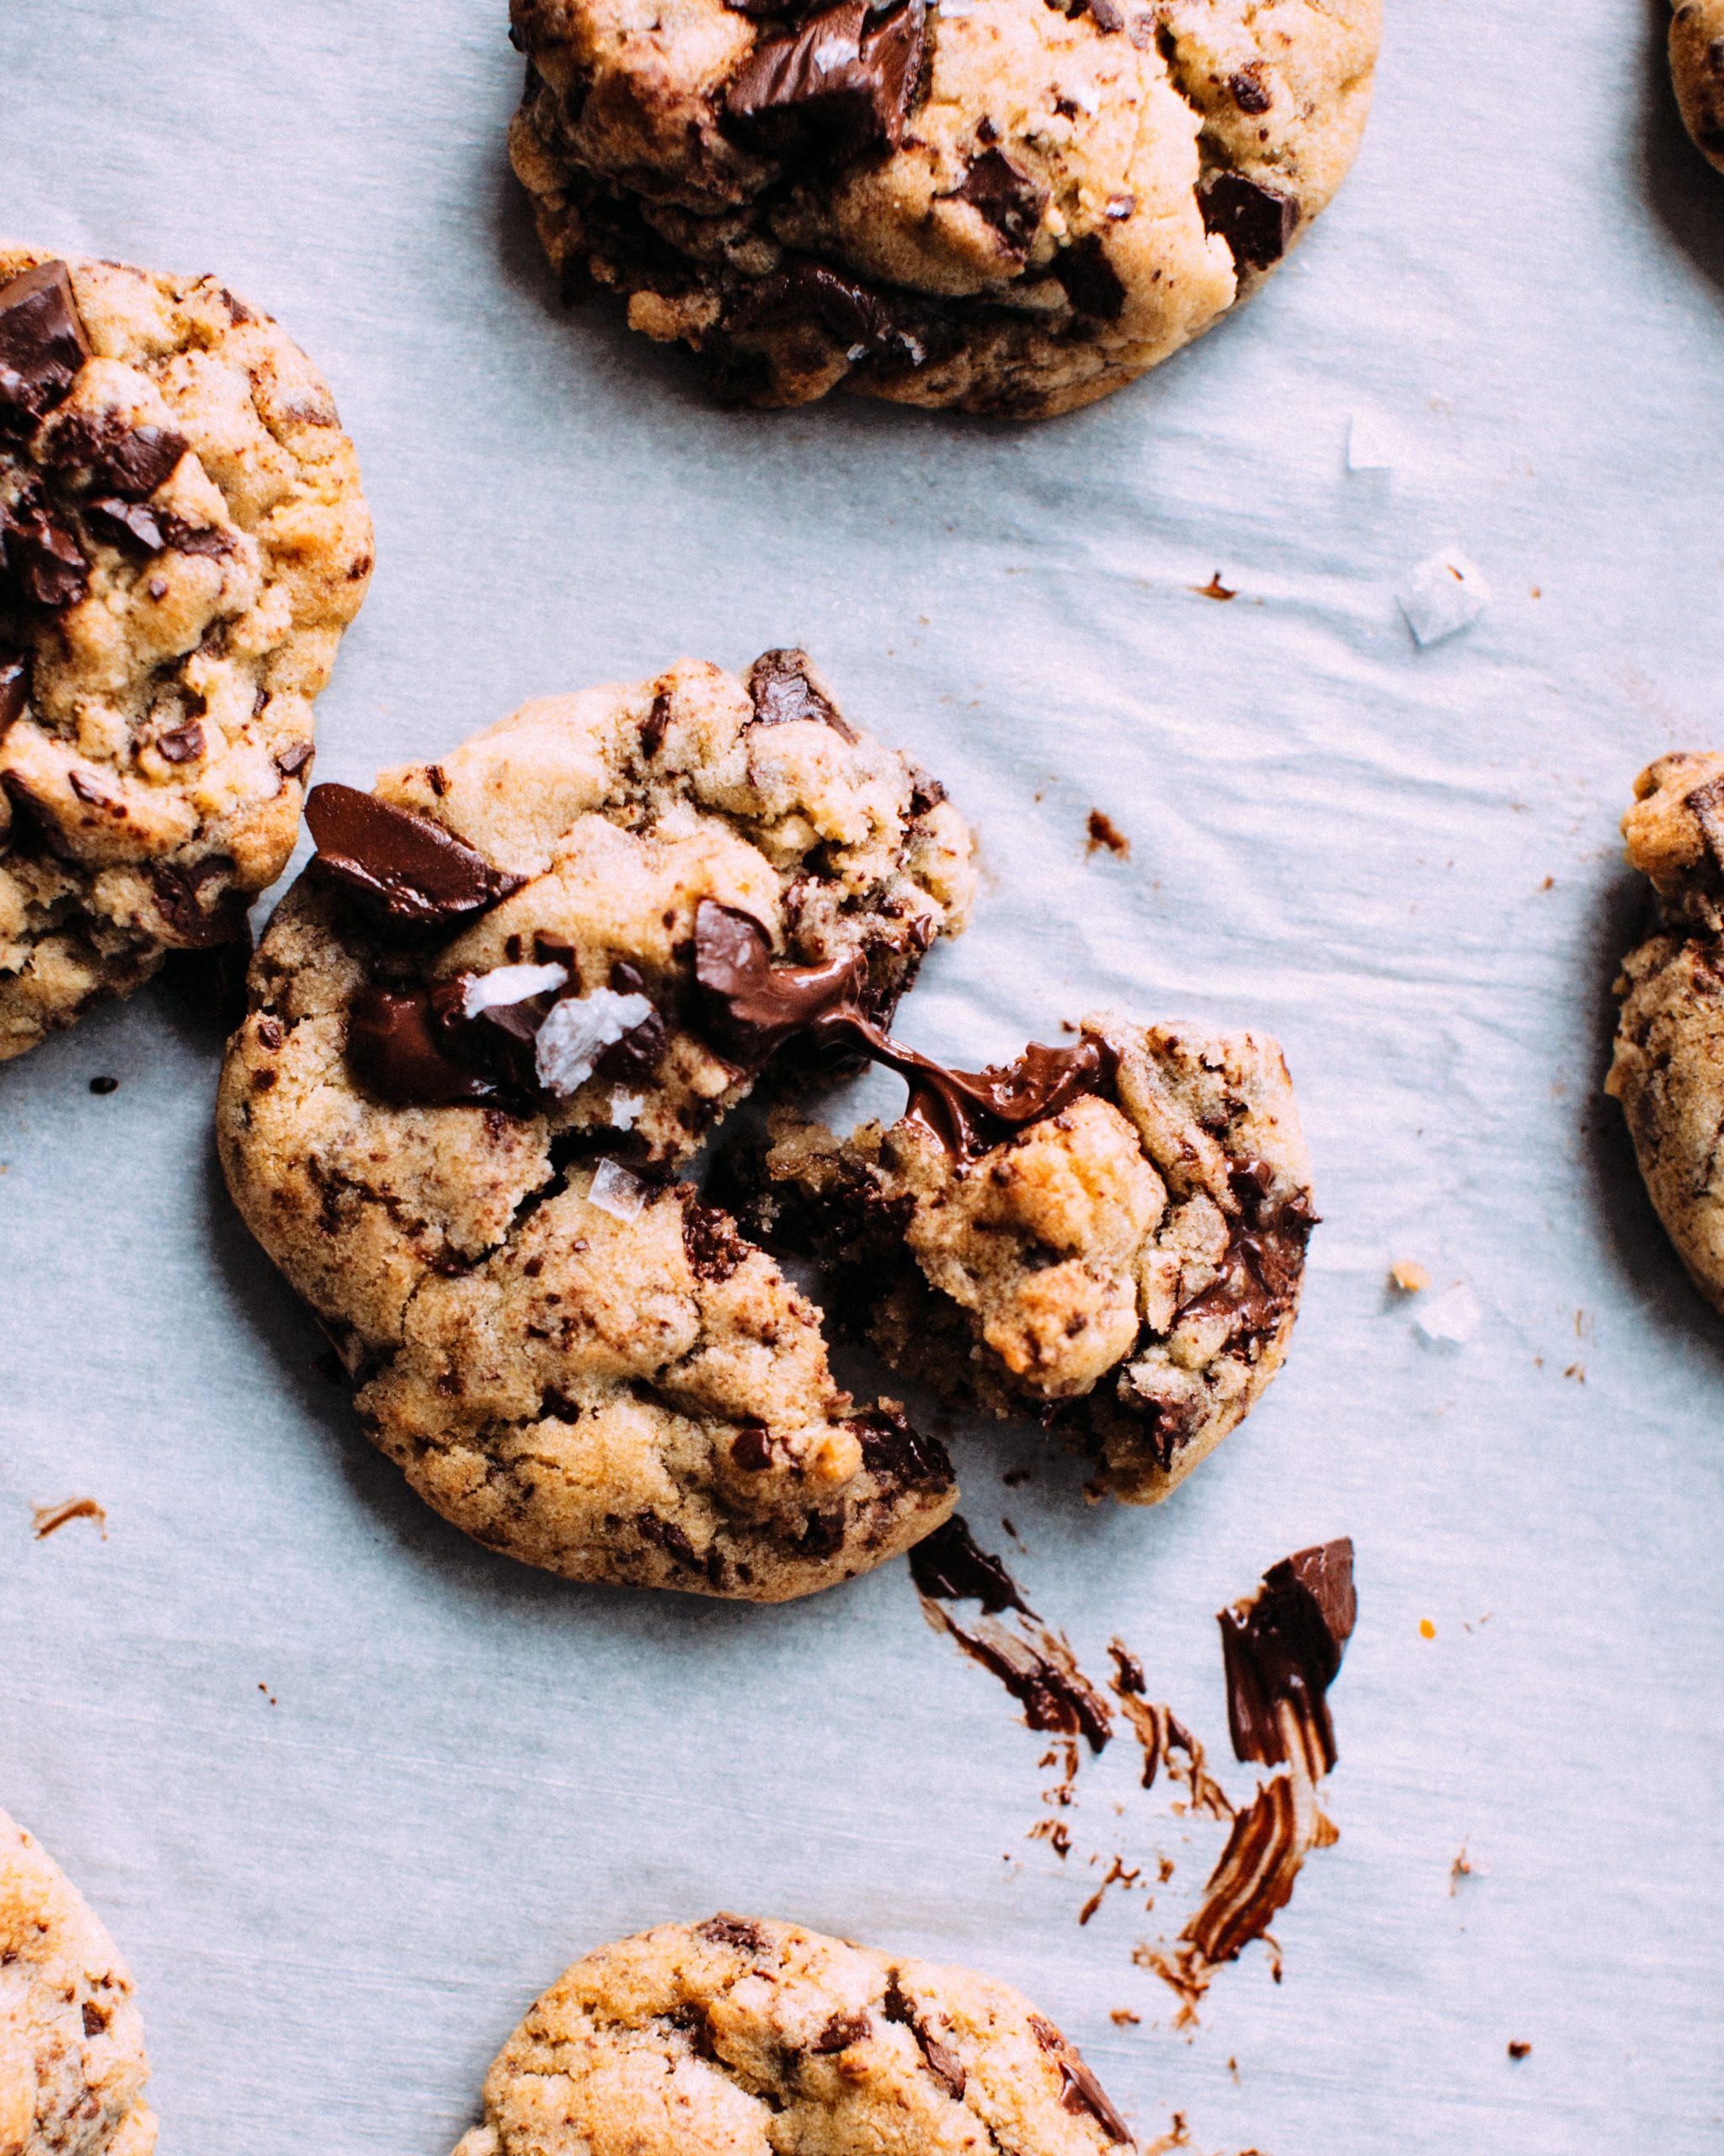
Cookies
- 1 cup softened cannabutter
- 1 cup white sugar
- 1 cup brown sugar
- 2 cups chocolate chips
- 3 cups all-purpose flour
- 2 teaspoons vanilla extract
- 1 teaspoon baking soda
- 1/2 teaspoon salt
- 2 teaspoons hot water
- 2 eggs
Preheat oven to 350 degrees F. Mix softened cannabutter, white sugar, and brown sugar in a bowl until combined. Beat in eggs and add vanilla extract. Dissolve the baking soda in 2 teaspoons of hot water and add to mix. In a separate bowl, sift flour and salt together, then add to the cannabutter mix. Now, stir in the chocolate chips. Use a spoon to place small dollops of cookie dough on a parchment-lined baking sheet (about two dozen). Bake for 10 minutes or until edges brown slightly. Remove from the oven and let cool. Eat those cookies!
*(These cookies may incite some consumers to go into full-on monster mode.)
Caramels
- 1 cup cannabutter
- 2 and 1/4 cups brown sugar
- 1 cup light corn syrup
- 14 ounces canned sweetened condensed milk
- 1 teaspoon vanilla extract
- pinch of salt
Melt cannabutter on low heat in a large saucepan on the stovetop. Once heated, stir in brown sugar and salt until dissolved. Then add in the light corn syrup. Stir continually throughout the entire process. Slowly add in the condensed milk while stirring. Cook on medium heat until the mixture begins to firm. It will take about 10 – 15 minutes. After the caramel has firmed, remove from heat and mix in vanilla extract. Pour molten caramel into a 9” x 13” parchment-lined baking tray. Allow caramel to cool. Cut into pieces and enjoy!
*(Watch out for sticky fingers, these caramels have a way of disappearing quickly.)
